 Tendrl
Creating Your First Entity
Learn how to create and configure entities in Tendrl.
What is an Entity?#
An entity represents any data source in your system:
- IoT devices
- Sensors
- Software applications
- External systems
Creating an Entity#
Via the Dashboard#
- Navigate to Entities in the sidebar
- Click the Create Entity button
- Fill in the required fields:
| Field | Description | Required |
|---|---|---|
| Name | Unique identifier | Yes |
| Role | Controls the entity's permissions. DefaultEntity covers basic messaging |
Yes |
| Service | Applies a service's validation rules to this entity's messages | No |
| Enabled | Whether the entity can connect and send (on by default) | No |
| Metadata | Free-form JSON attached to the entity | No |
- Click Create
Contact automatically issues an API key bound to the entity. View it under Connection Instructions.
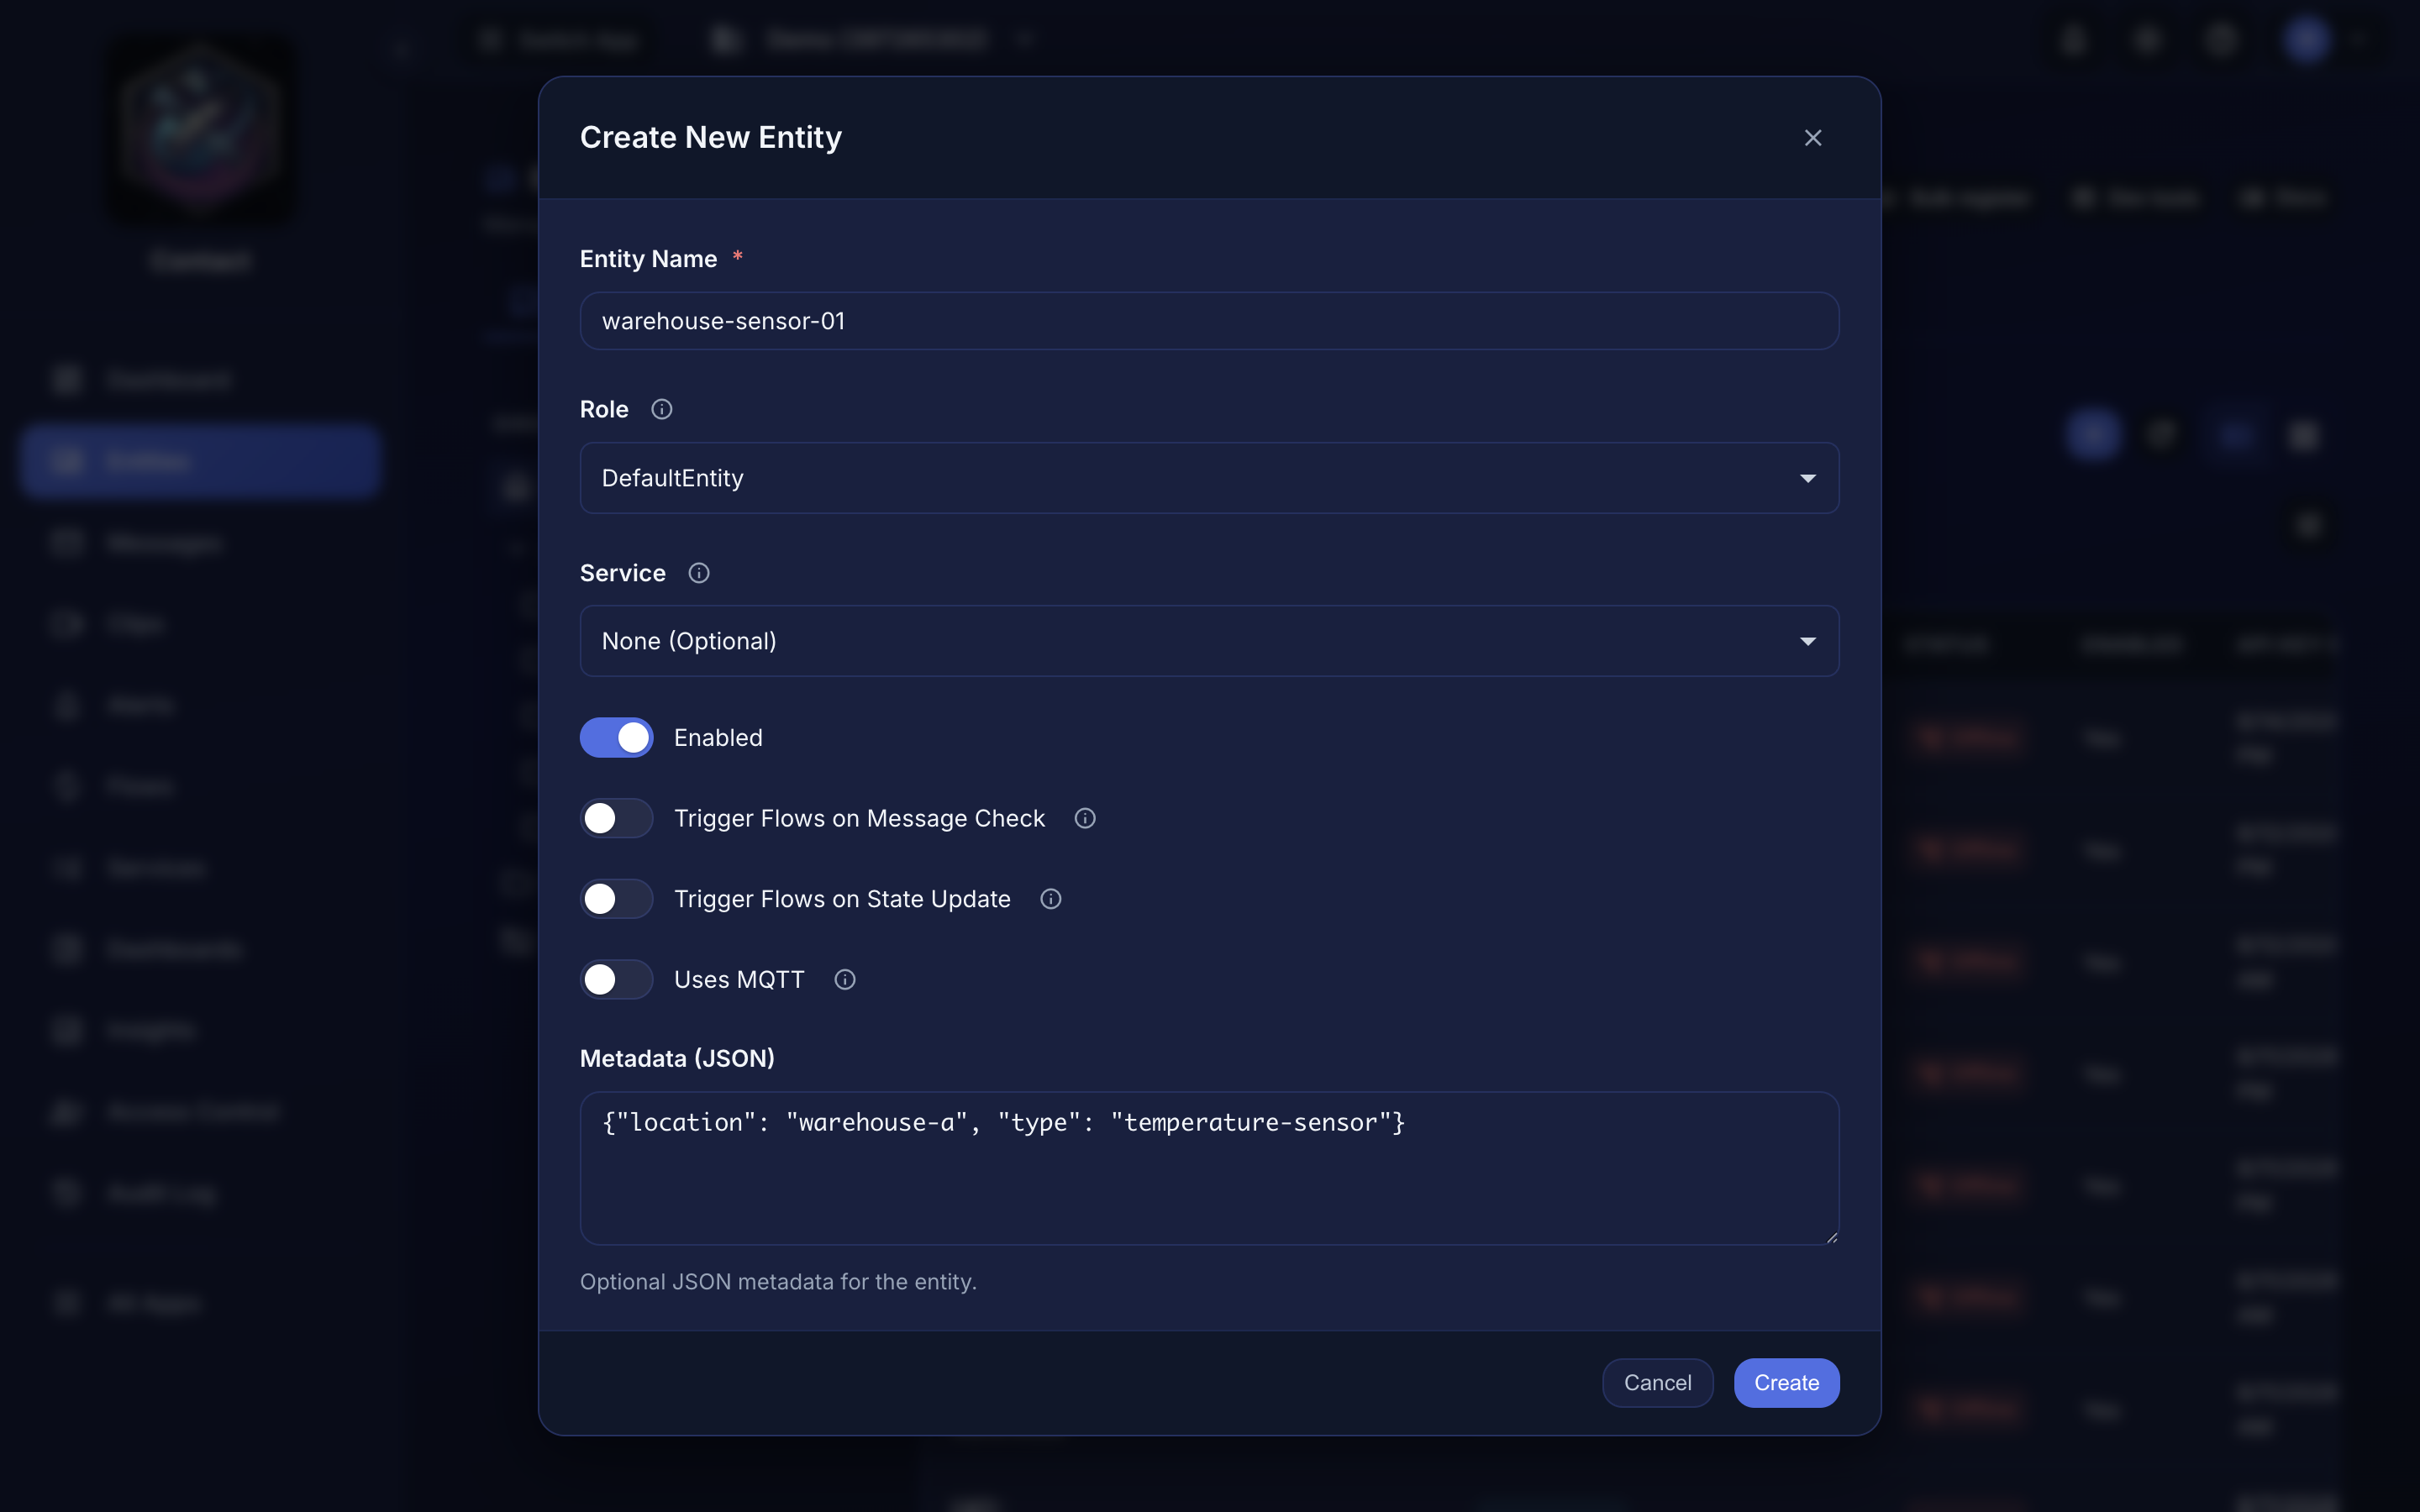 Creating your first entity from the dashboard.
Via the API#
curl -X POST https://app.tendrl.com/api/entities \
  -H "Content-Type: application/json" \
  -H "Authorization: Bearer YOUR_ACCOUNT_API_KEY" \
  -d '{
    "name": "temperature-sensor-01",
    "role": "DefaultEntity",
    "metadata": {"location": "building-a", "floor": "1"}
  }'
A success returns 201 with the entity and its newly issued key. The key appears in this response only — it is not retrievable afterwards.
role is required: the request returns 400 role is required without it. DefaultEntity is the built-in role that covers basic messaging; see Roles for others.
Creating an entity is an account-administration action, so it uses an account API key (an IAM-scoped key you create under Access Control → API Keys). Once the entity exists, the entity authenticates itself with its own entity API key (issued at creation) to send and receive messages. Entity keys cannot create entities, and account keys cannot post entity messages.
If the request failed#
| Status | reason |
What it means |
|---|---|---|
| 400 | role is required |
The body has no role. Use DefaultEntity unless you've defined others. |
| 400 | Invalid Request Body |
Malformed JSON, or a field has the wrong type. |
| 400 | Invalid Request |
The body parsed but failed validation — usually a bad name. |
| 401 | Access Denied |
Key is wrong or revoked, or Bearer is missing from the header. |
| 403 | Your <plan> plan is limited to N entities. Please upgrade your plan for more. |
You've hit the entity cap. See Pricing. |
| 404 | Account Not Found |
The key authenticated but resolves to no account — rare; contact support. |
| 409 | Resource Exists |
An entity with that name already exists. Names are unique per account. |
Creating an entity needs an account key. If you use an entity's own key you'll get a permission failure rather than a helpful message — see the credentials note above.
Entity Configuration#
API Keys#
Each entity has one API key, issued when the entity is created.
- Contact opens Connection Instructions as soon as the entity is created
- Copy the API Key secret there and then, as it's only shown once
- Use the secret in the
Authorization: Bearer ...header when sending messages
To rotate the key (e.g. if it leaks), go to Access Control → API Keys and rotate it there.
Organizing entities#
- Directories: place entities in a folder tree (drag-and-drop on the Entities page) to mirror your sites and zones
- Fanouts: group entities to broadcast a message to all members at once
- Message tags: tags on the messages an entity sends drive routing to connectors and workflows (see flows)
