 Tendrl
Creating Entities
Learn how to create and configure entities through the dashboard and API.
Dashboard#
- Navigate to Entities in the sidebar
- Click Create Entity
- Fill in the fields:
| Field | Description | Required |
|---|---|---|
| Name | Unique identifier for the entity | Yes |
| Role | Controls the entity's permissions. DefaultEntity covers basic messaging |
Yes |
| Service | Service whose validation rules apply to this entity's messages | No |
| Enabled | Whether the entity is active (defaults to enabled) | No |
- Click Create
Contact issues an API key for the entity automatically. View it under Connection Instructions on the entity card.
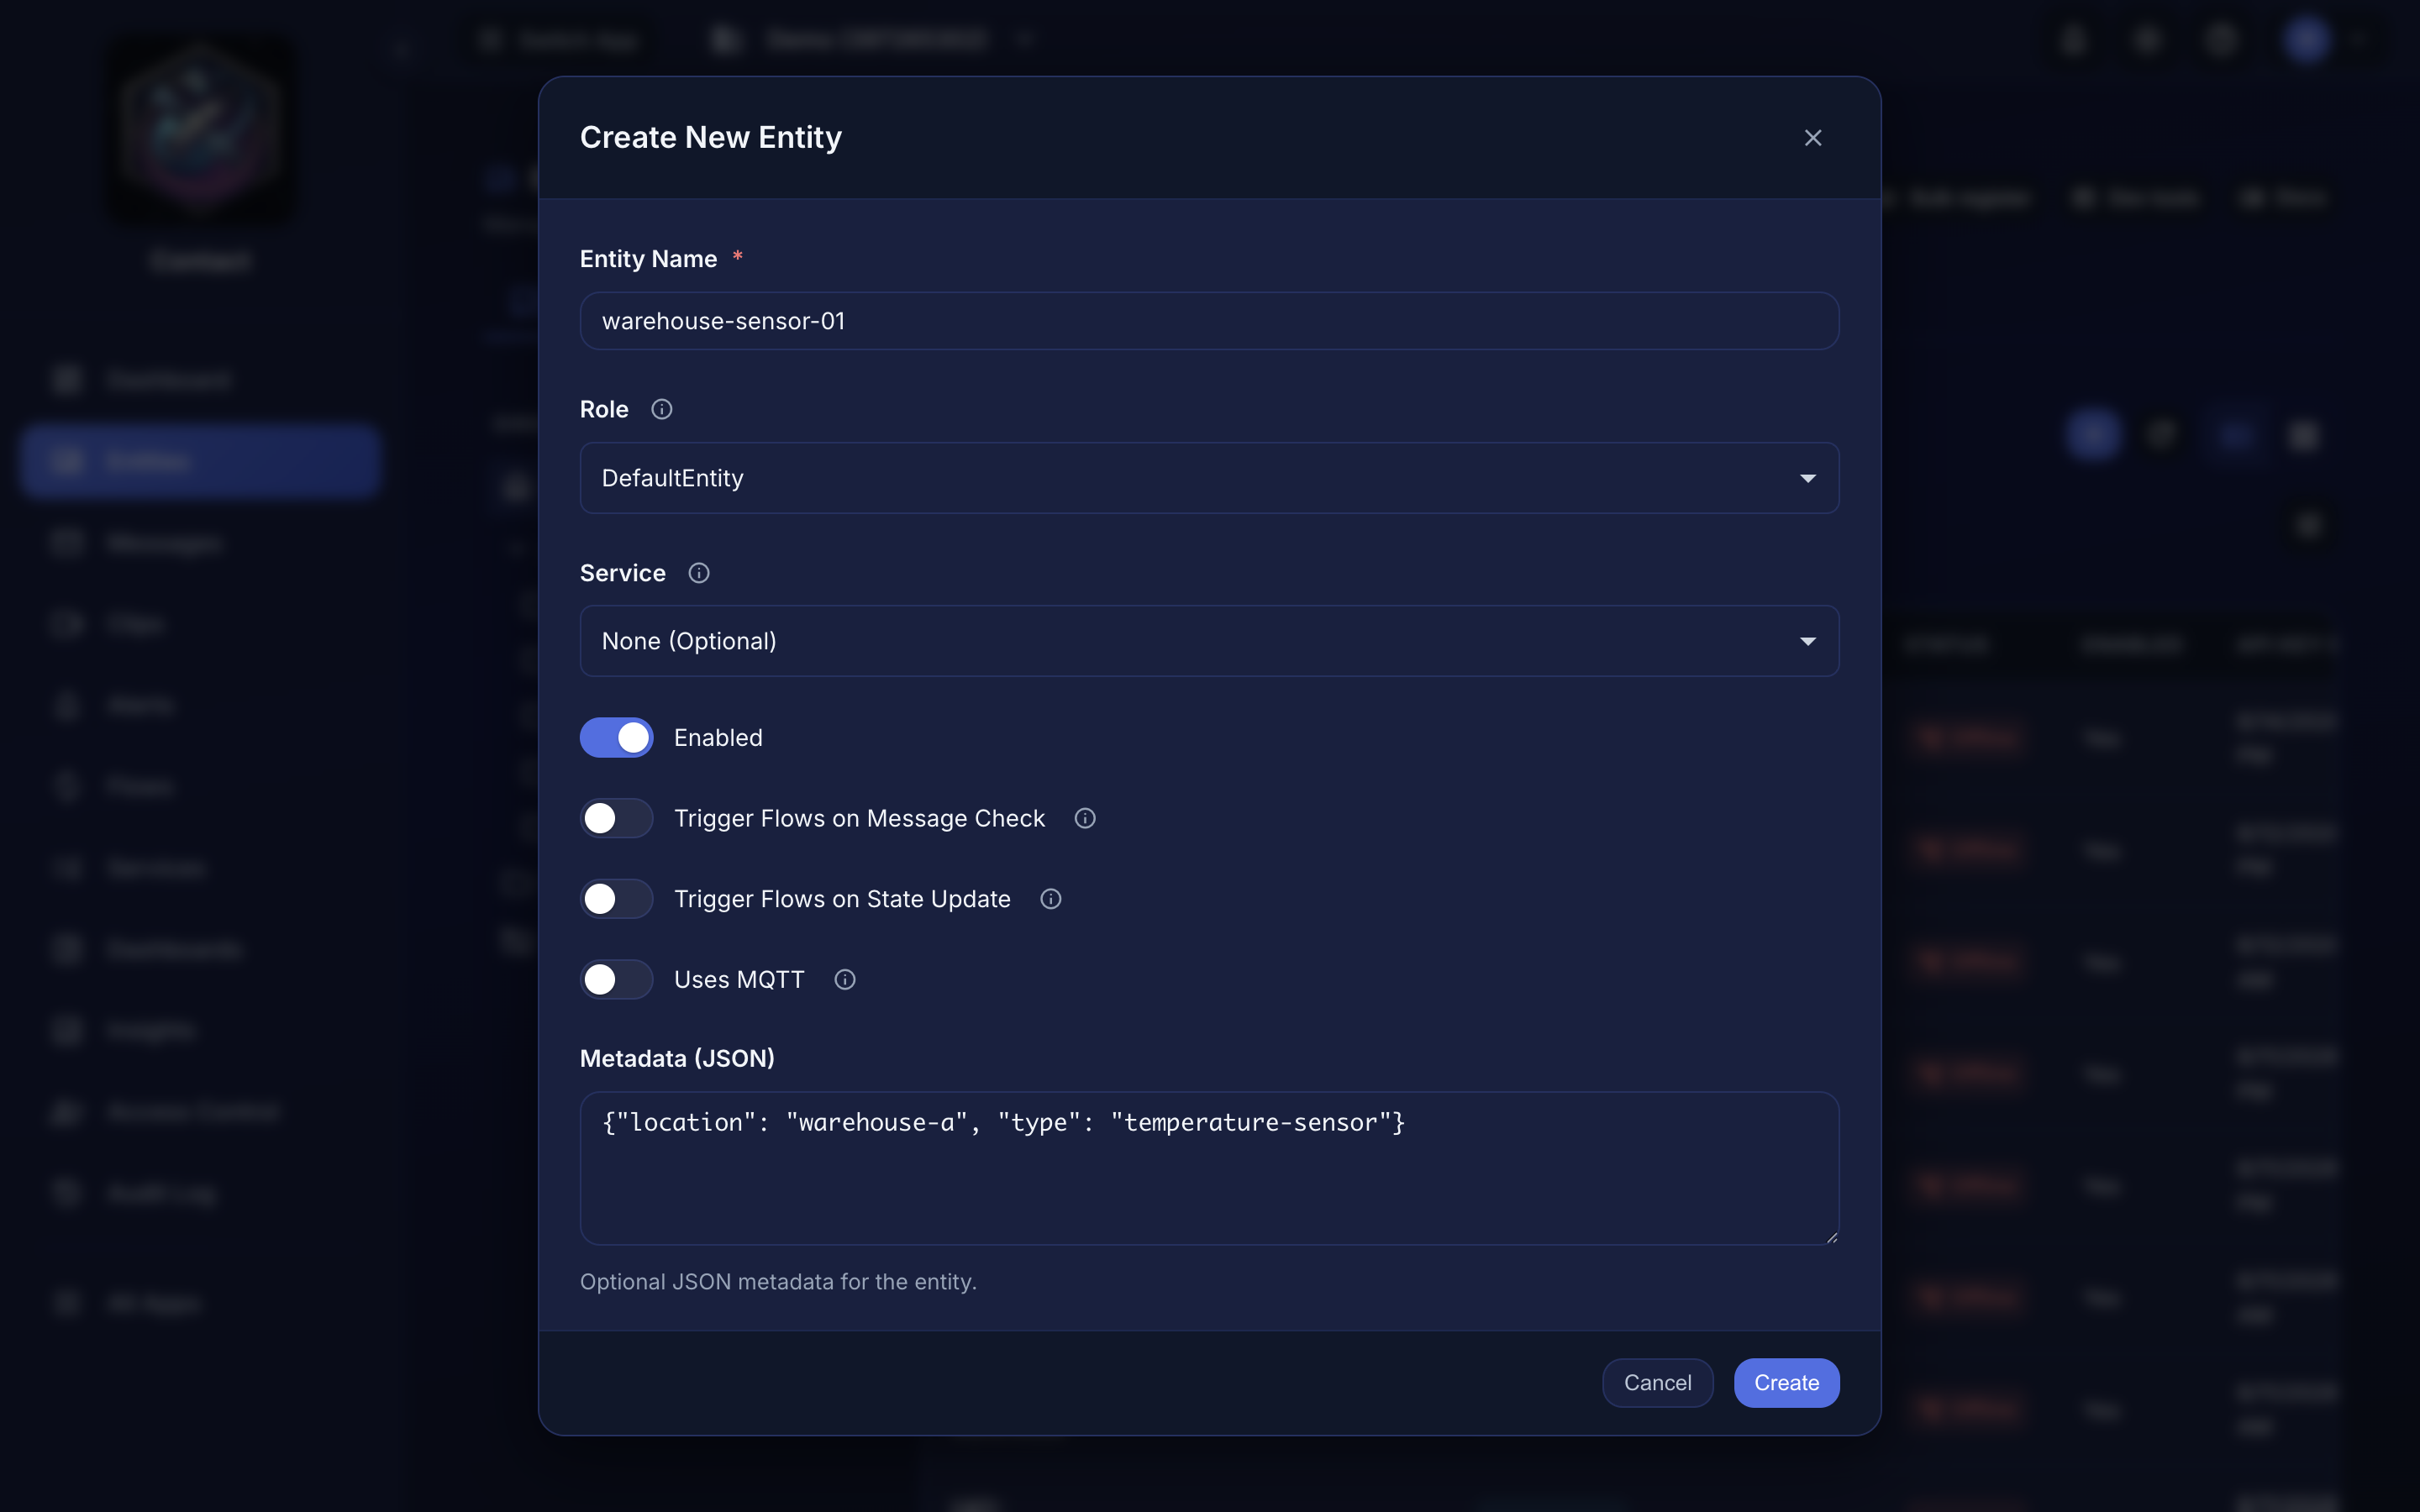 Creating an entity from the dashboard.
Provision a physical device#
If the entity is MQTT-enabled and you have edit permission, its detail page has a Device tab. Plug a MicroPython board into USB, click Connect Device, and Contact flashes/configures it and writes the entity's API key (paste the key you saved at creation, or rotate it there if lost). See The Device Tab for the full guide. Requires Chrome, Edge, Opera, or Firefox 151+ (WebSerial).
API#
curl -X POST https://app.tendrl.com/api/entities \
  -H "Content-Type: application/json" \
  -H "Authorization: Bearer YOUR_ACCOUNT_API_KEY" \
  -d '{
    "name": "my-entity",
    "role": "DefaultEntity",
    "metadata": {"location": "building-a"}
  }'
role is required: omitting it returns 400 role is required, and a role that does not exist on the account returns 400 Role "X" does not exist on this account along with the list of valid ones. Use DefaultEntity for standard messaging permissions, or any role from Roles.
Invented names are the common mistake — Device reads like a role and is not one. An entity created with a role that does not resolve is issued an API key that is refused on every request, so this is checked at creation rather than surfacing later as an opaque 403.
This endpoint authenticates with an account API key (created under Access Control → API Keys), not an entity's own key. Entity keys cannot create entities. See API Keys.
See the API Reference for complete documentation.
