 Tendrl
Workflow Editor Overview
The Strand workflow editor is a visual, drag-and-drop interface for building event-driven workflows.
Interface Components#
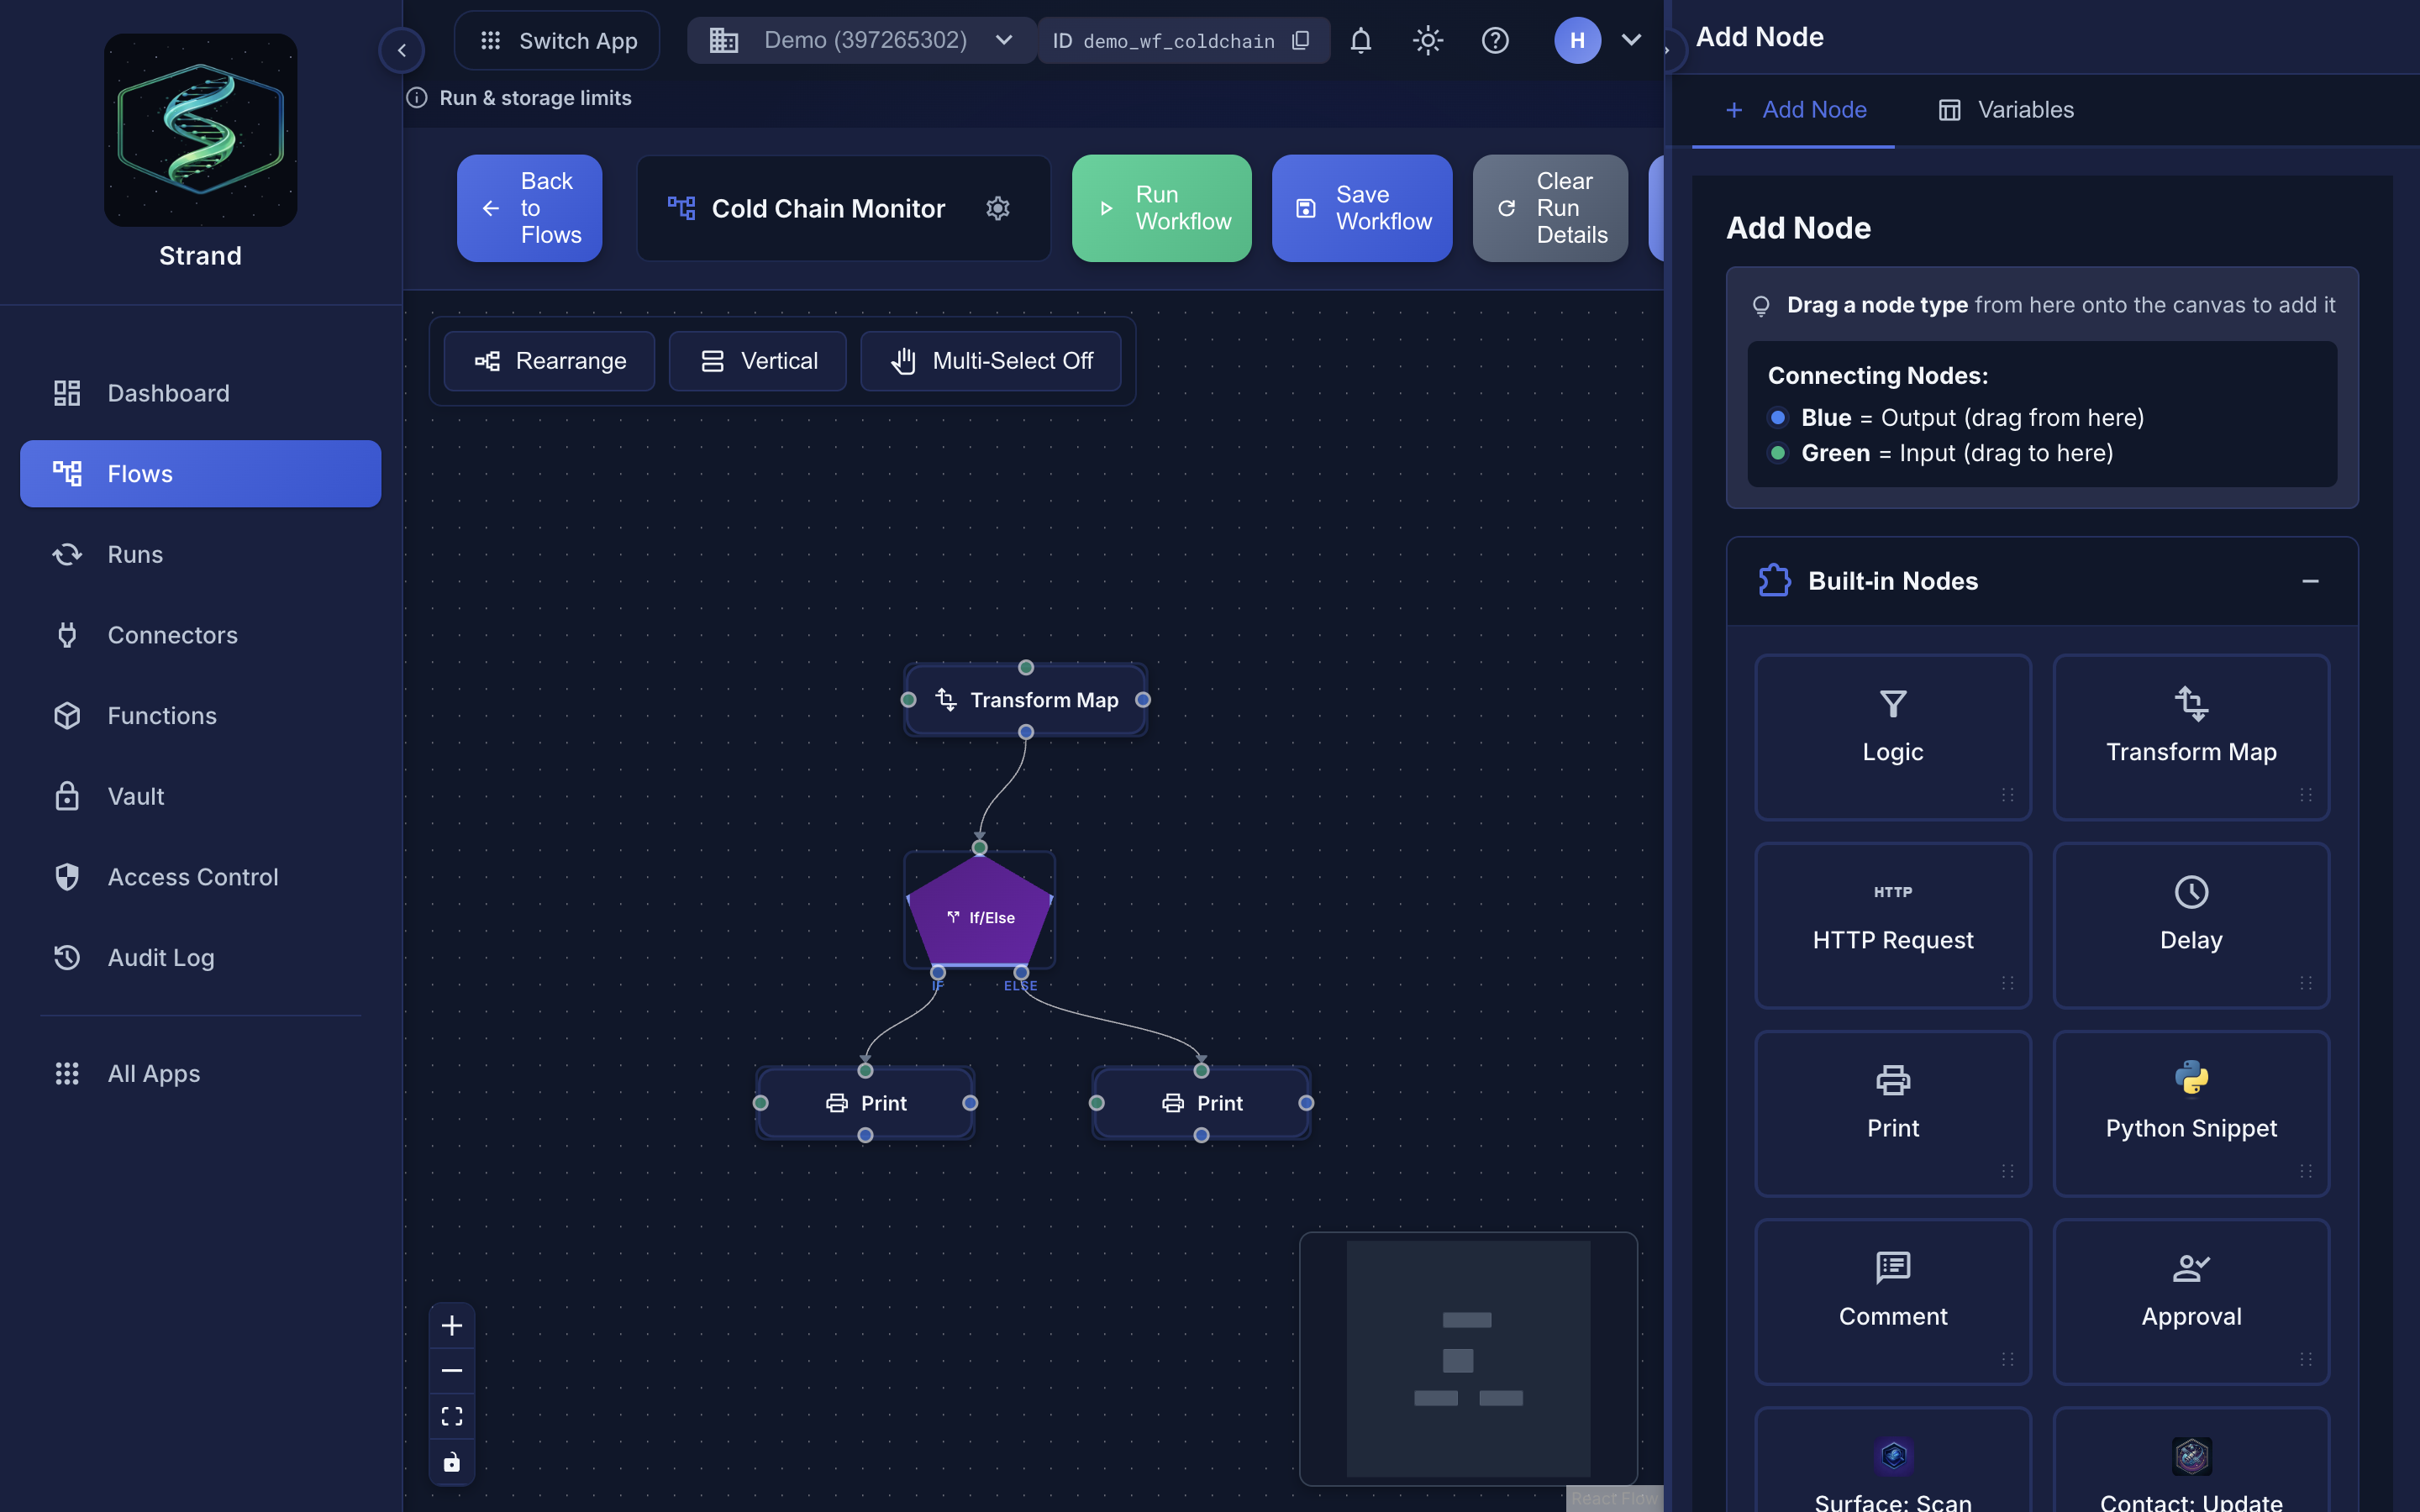 The editor: compact Run/Save chrome, canvas in the middle, node palette on the left. Drag a node onto the canvas to add it.
Canvas#
The main workspace where you build your workflow. Nodes are placed here and connected to form your workflow graph.
Node palette#
The left dock lists built-in nodes, functions, flows, and connectors. Drag a card onto the canvas to add it. A click on the card does not add a node.
Toolbar#
Located at the top of the editor:
- Flows - Return to the workflows list
- Workflow name - Unsaved changes show as a dot next to the name
- Run - Execute the workflow with a test event
- Save - Save the current workflow version
- More - Workflow settings, variables, runs, and replay
Node Inspector#
Opens on the right side when you select a node. Use it to:
- View and edit node configuration
- See the node ID (for templating references)
- Delete the node
- Update the node label
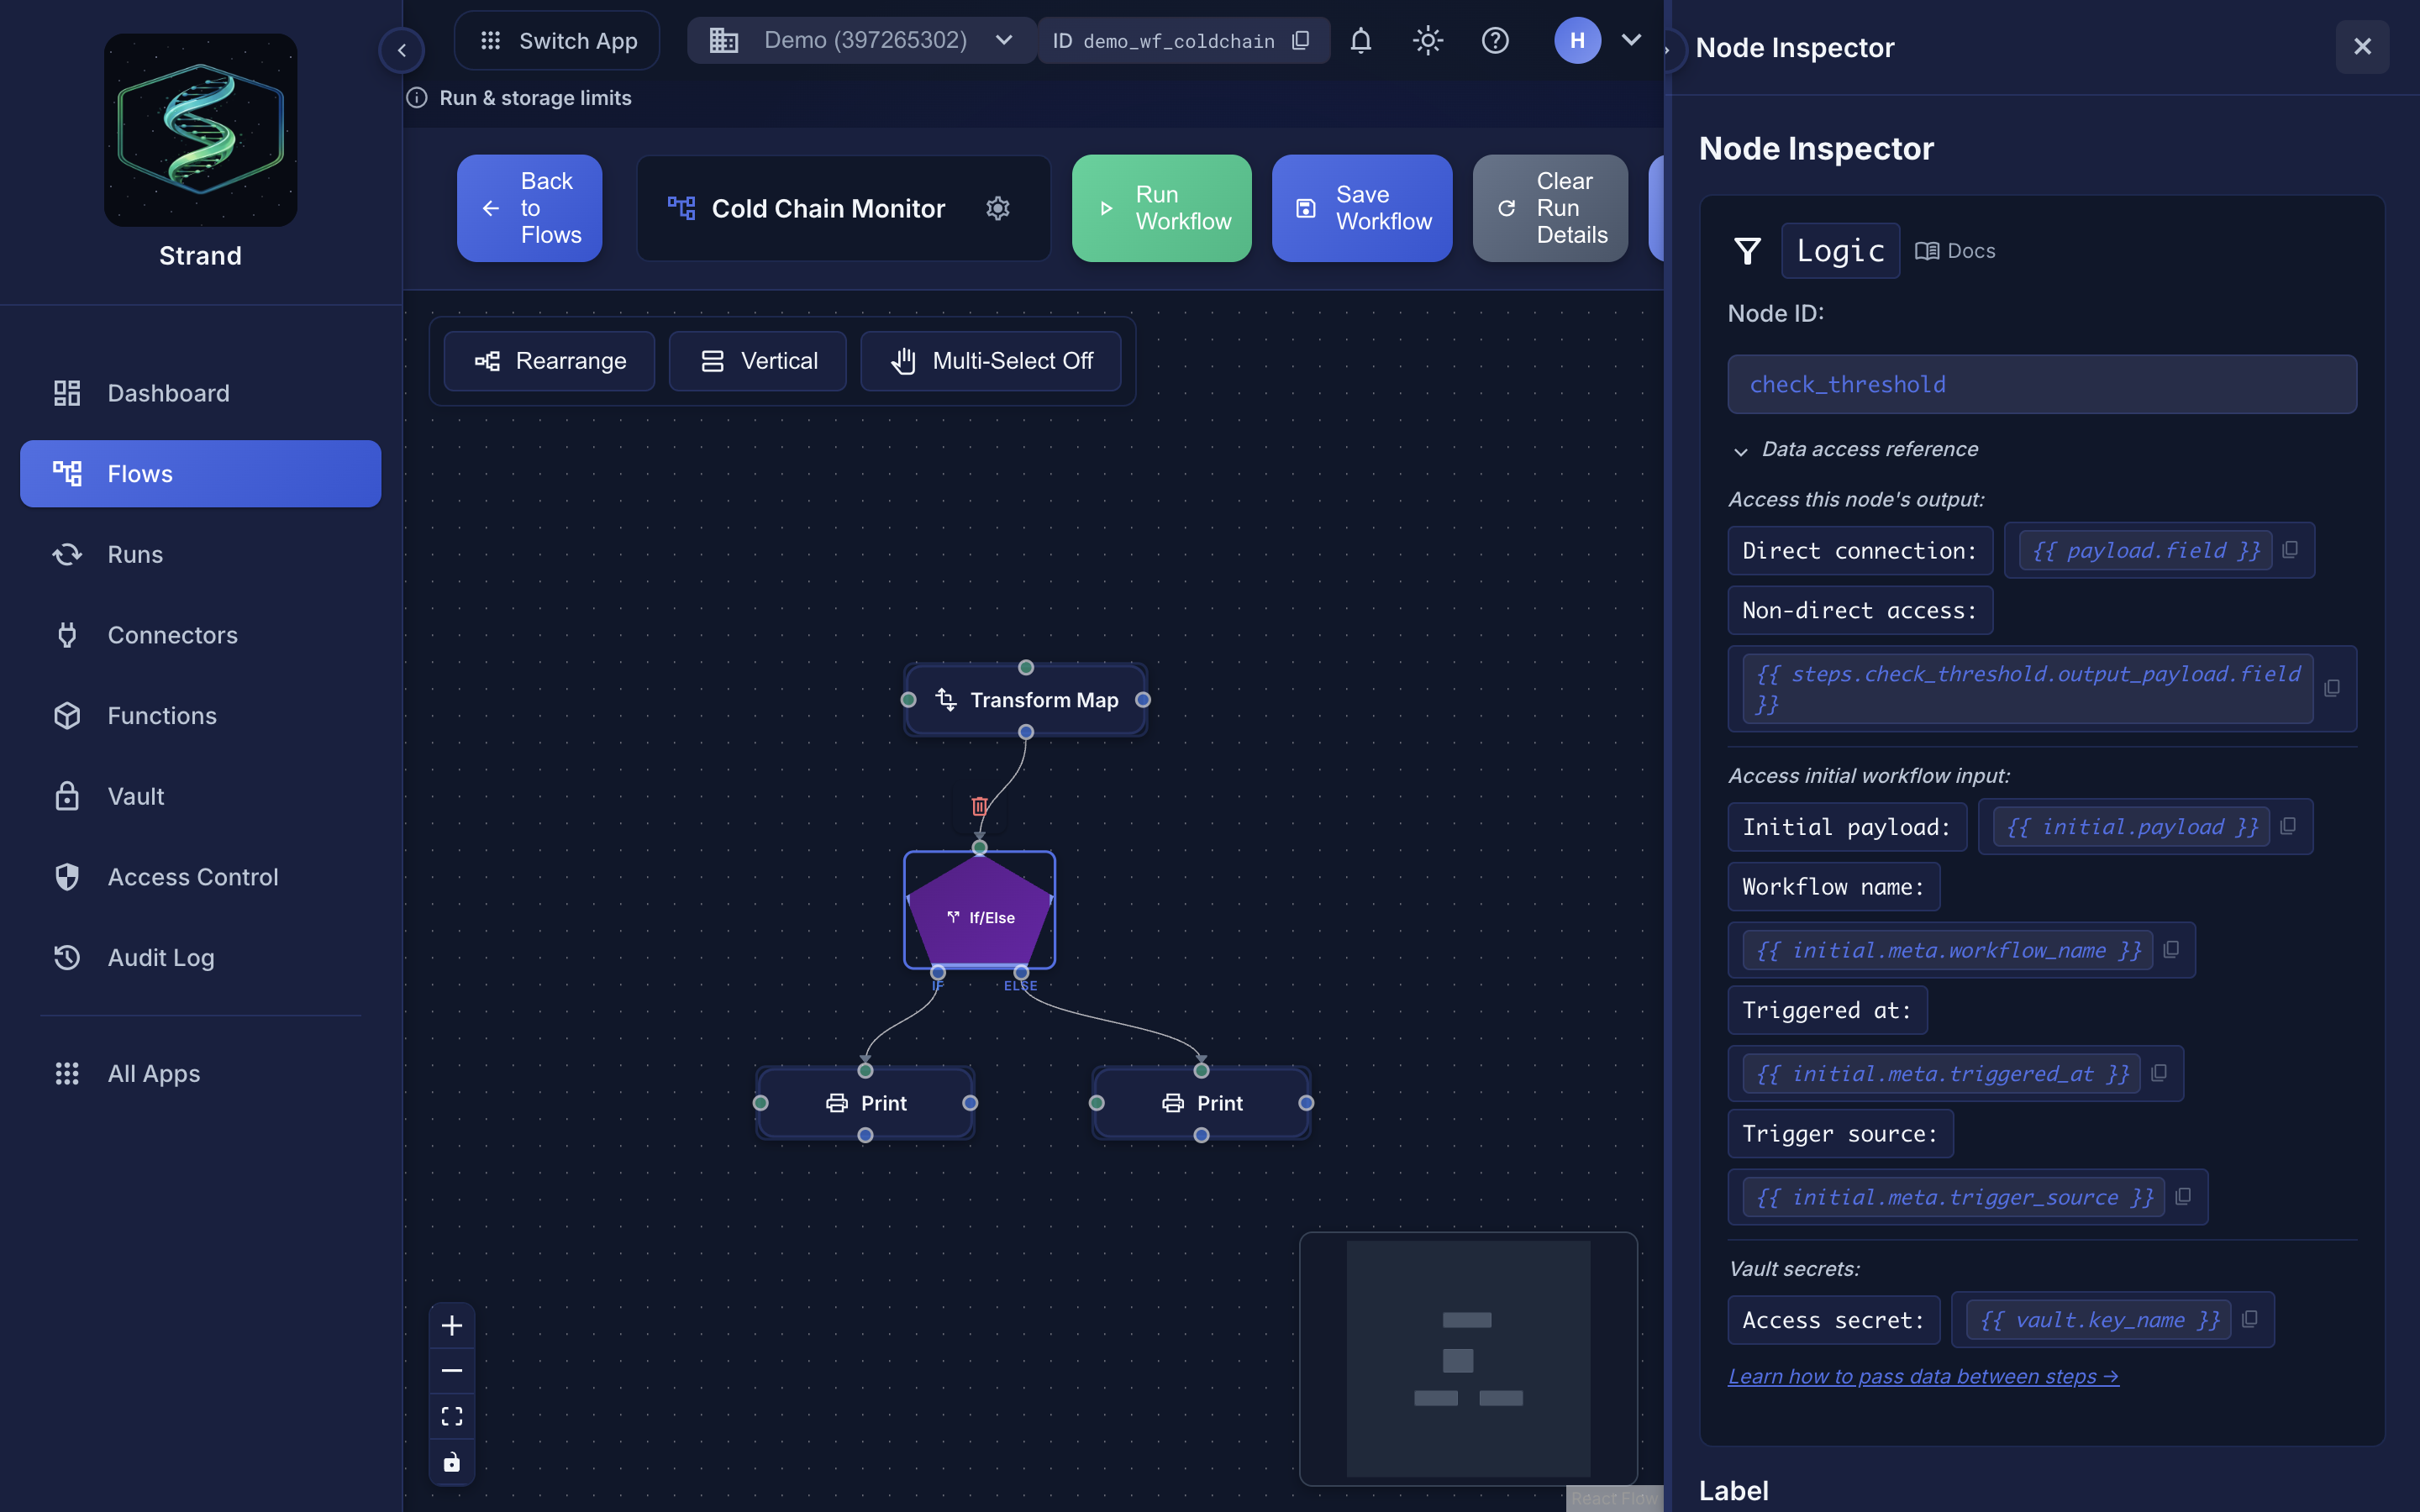 Selecting a node opens the inspector, including the exact templating expressions for reaching its output.
Edge Inspector#
Opens when you select a connection between nodes. It shows the connection's source and target and an explanation of the handle colors (blue = output, green = input). Edges carry no settings of their own, so use it to delete the connection.
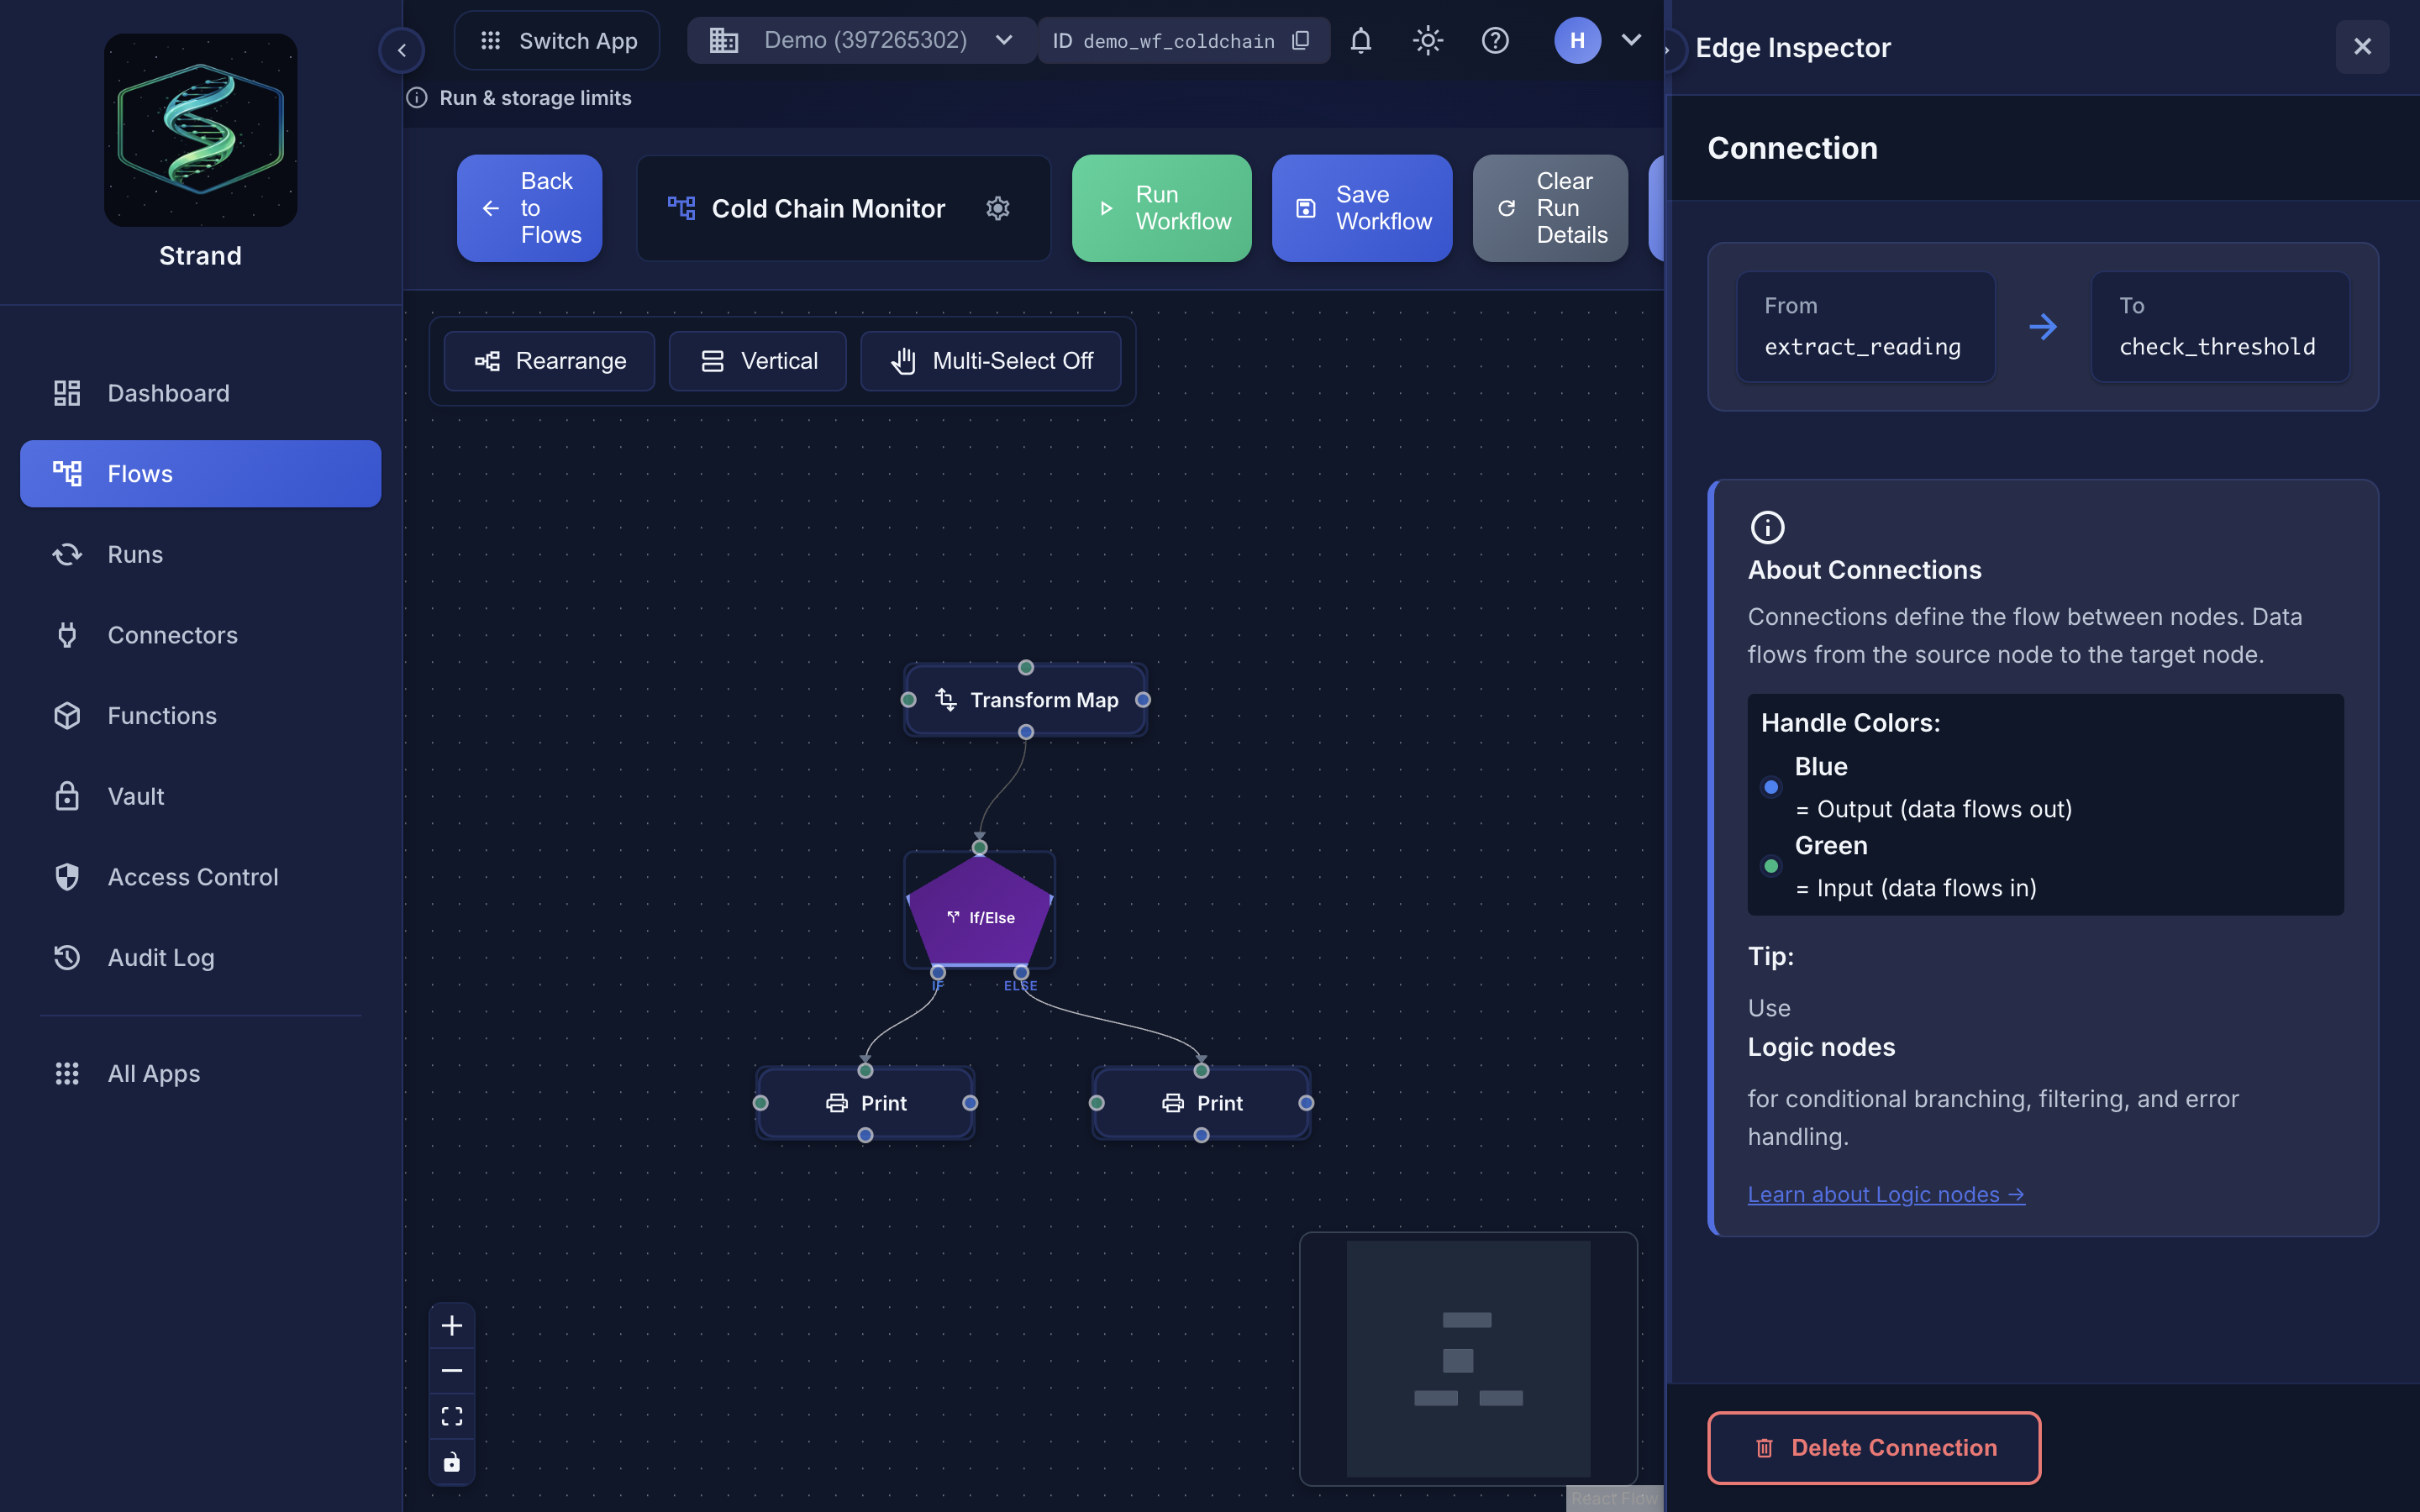 The Edge Inspector, open on a selected connection.
There is no per-edge condition or relationship type. To branch or filter, use a Logic node.
Workflow Concepts#
Nodes#
Nodes are the building blocks of workflows. Each node:
- Receives input events
- Processes them according to its configuration
- Produces output events
- Can have multiple outputs (branching)
Edges#
Edges connect nodes and define the execution flow. Edges are always traversed: they have no conditions or relationship types. Data flows from the source node to the target node.
Branching and iteration are done with a Logic node, not with edges:
- Branching: a Logic node in If/Else mode routes to its
iforelsehandle. - Iteration: a Logic node in Foreach mode fans out over its
eachhandle and aggregates on itsdonehandle.
See Conditional Logic and the Logic Node for details.
Workflow Types#
Strand supports two workflow types:
- Triggered (default): Runs when triggered manually, via webhook, or from another workflow (flow.call)
- Scheduled: Runs automatically on a recurring cron schedule. Choose from simple presets (every 5 minutes, hourly, daily, etc.) or use a custom cron expression with timezone support.
You choose the workflow type when creating a workflow. Scheduled workflows show a clock badge in the workflows list and display their next scheduled run time.
Entry Nodes#
Nodes with no incoming edges are entry nodes. The workflow starts execution from these nodes.
Terminal Nodes#
Nodes with no outgoing edges are terminal nodes. When all paths reach terminal nodes, the workflow completes.
Building a Workflow#
Add Nodes
Drag a node from the left palette onto the canvas
Connect Nodes
Drag from a node's output handle to another node's input handle
Configure Nodes
The inspector opens on the right when you add or select a node
Add Branching
Use a Logic node for conditional branching, filtering, or iteration
Save
Click Save to store the current workflow version
Canvas Controls#
Located in the top-left of the canvas:
- Rearrange - Automatically arrange nodes on the canvas
- Horizontal/Vertical - Toggle between horizontal and vertical layout directions
Tips#
- Use descriptive node labels to make workflows easier to understand
- Test incrementally - build and test workflows step by step
- Use Workflow Variables for reusable non-sensitive configuration values
- Use the Global Vault for sensitive secrets (API tokens, passwords)
- Check execution logs to debug issues
