 Tendrl
Creating Workflows
Step-by-step guide to creating your first workflow.
Step 1: Create a Workflow#
- Open the Flows page and click New Workflow
- Enter a name in the Name field of the Create Workflow dialog (descriptive names like
process-user-ordersmake later debugging easier) - Choose the workflow type:
- Triggered (default): Runs when triggered manually, via webhook, or from another workflow
- Scheduled: Runs automatically on a recurring cron schedule
- For Scheduled workflows, pick a preset (every 5 minutes, hourly, daily, etc.) or switch to Custom Cron. Optionally set a timezone (defaults to UTC).
- Click Create Workflow
Step 2: Add Nodes#
Drag a node type from the left palette onto the canvas. Clicking a card does not add it — you have to drop it where you want it. The inspector opens on the right as soon as the node lands. Useful starting points:
- Print: for debugging and testing
- HTTP Request: for calling external APIs
- Transform: for reshaping data between steps
See Node Types for the full list.
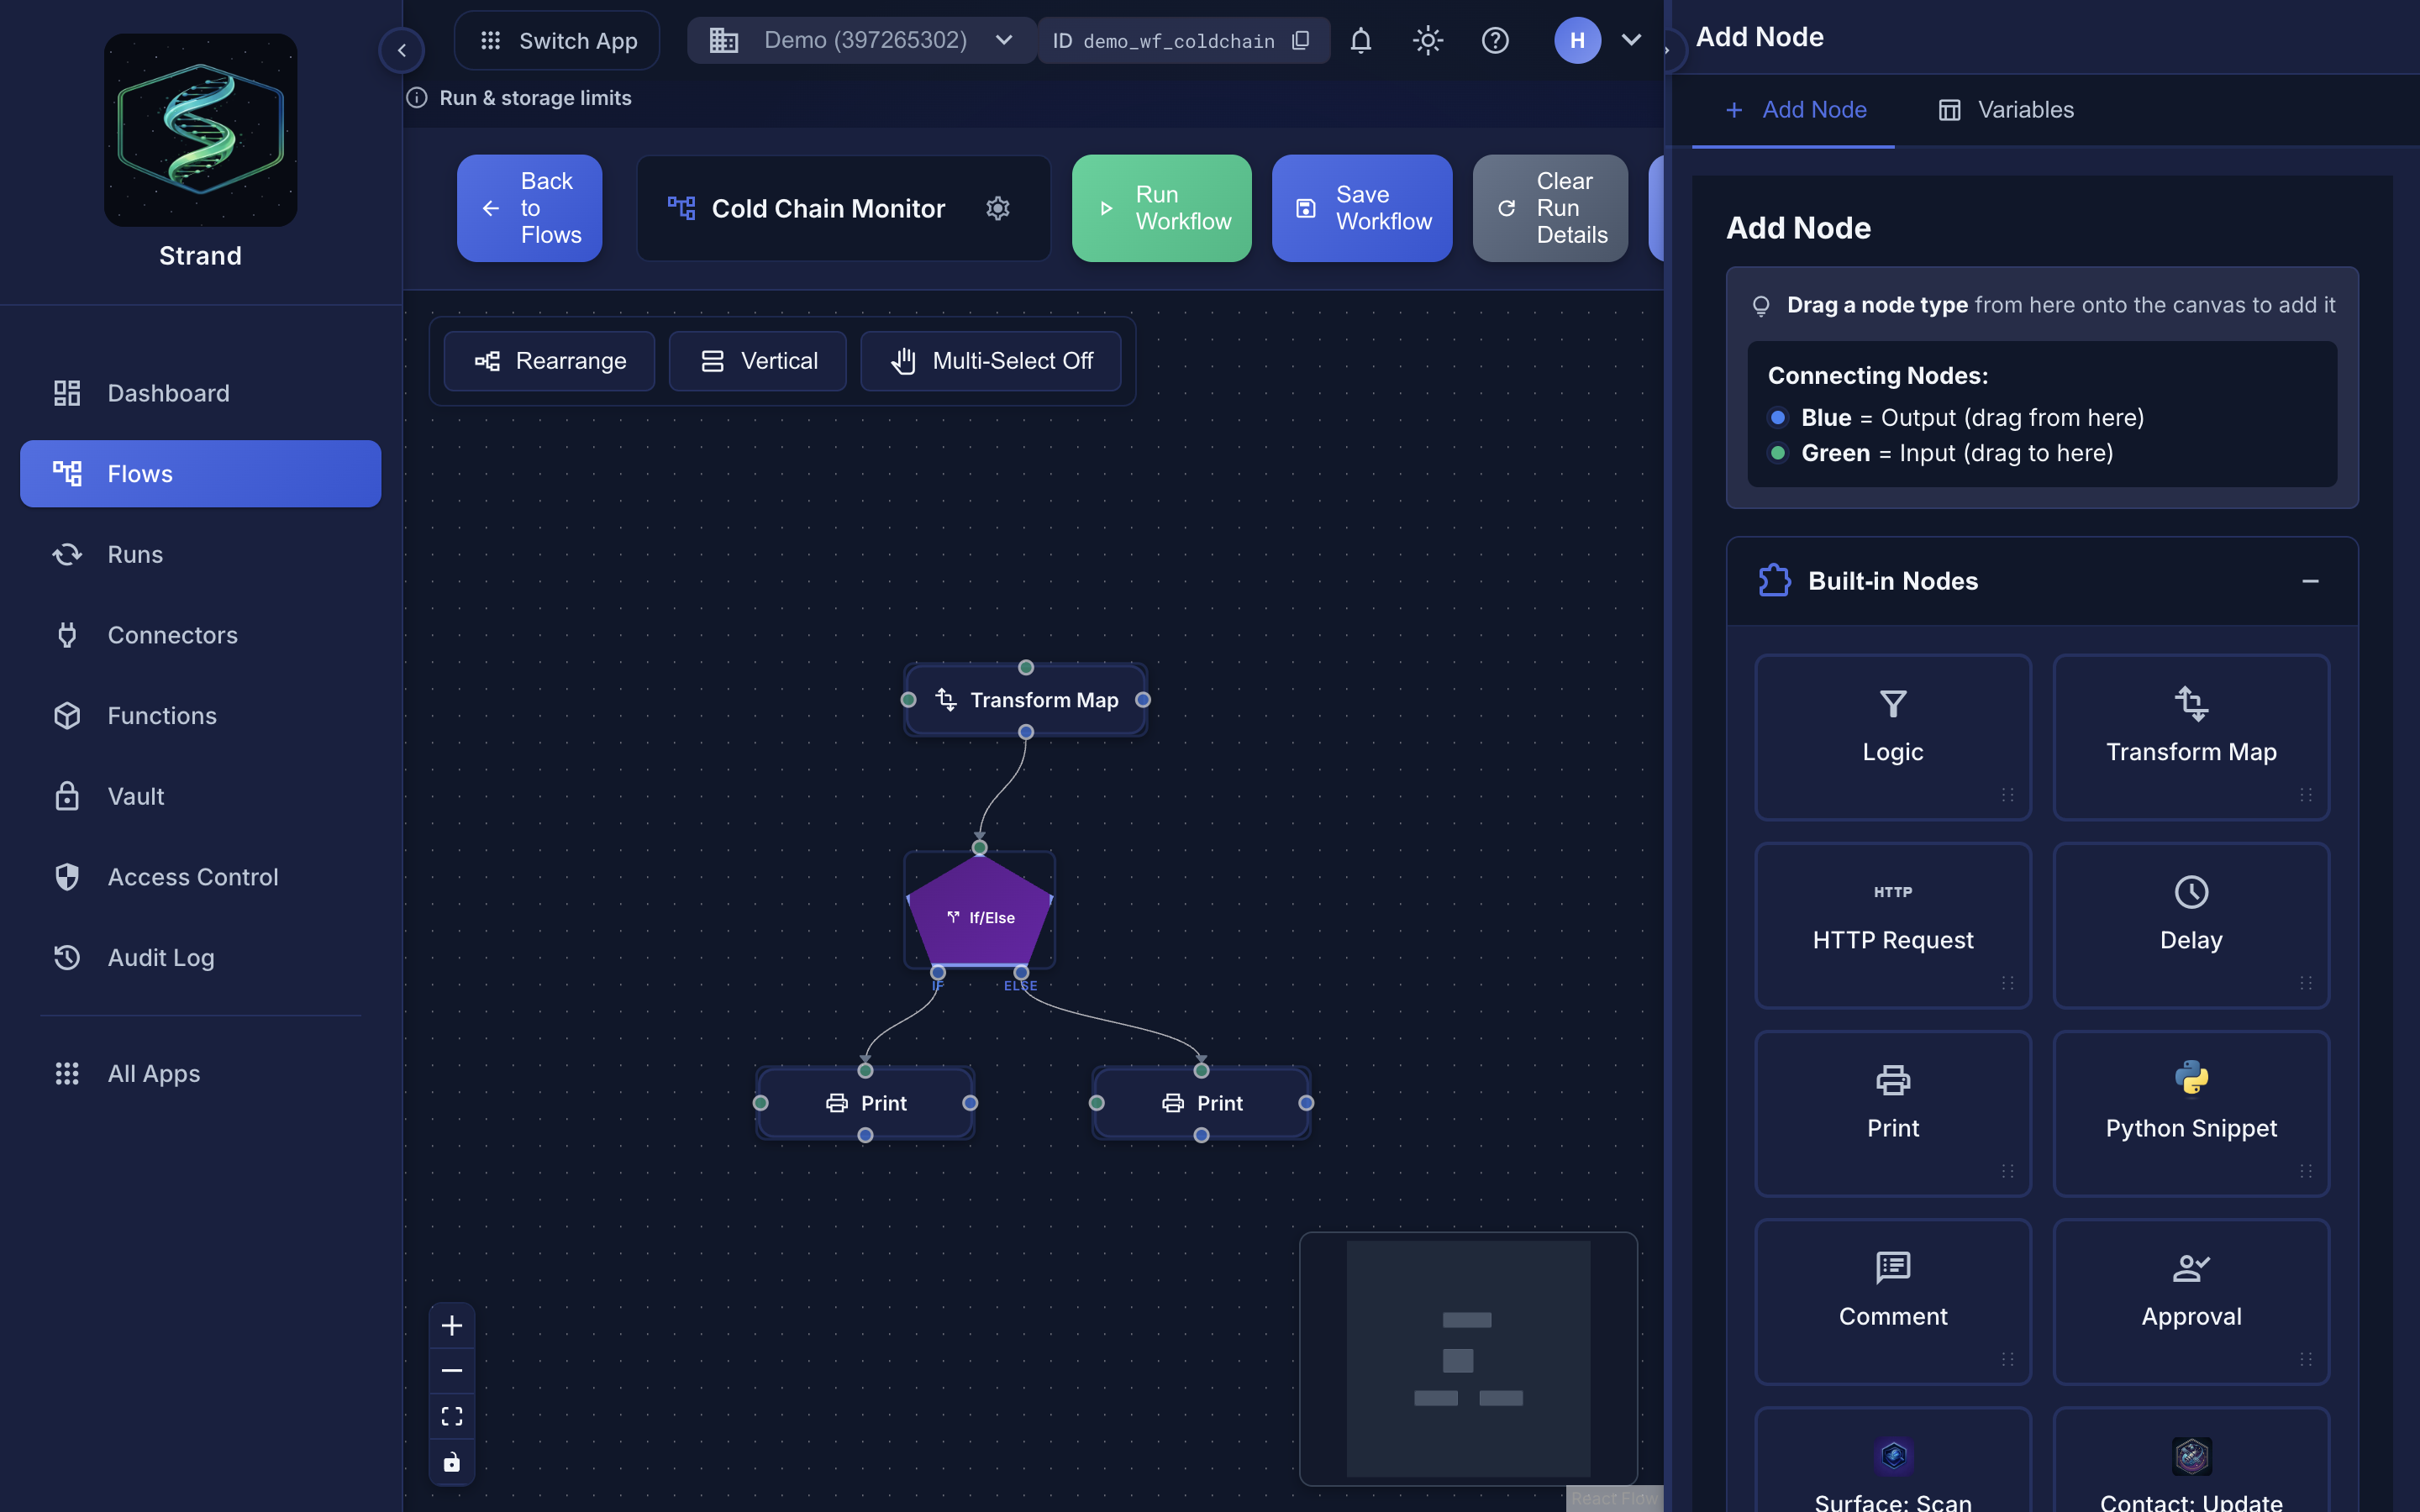 The visual workflow editor: drag nodes onto the canvas and connect them.
Step 3: Connect Nodes#
Drag from a node's output handle (right side) to another node's input handle (left side). The edge defines execution flow.
Step 4: Configure Nodes#
Click a node (or drop a new one) to open the Node Inspector on the right. The inspector shows the node's ID (you'll reference it from templates like {{ steps.<node_id>.output_payload }}), its label, and its configuration fields. Use templating to pull data from earlier steps.
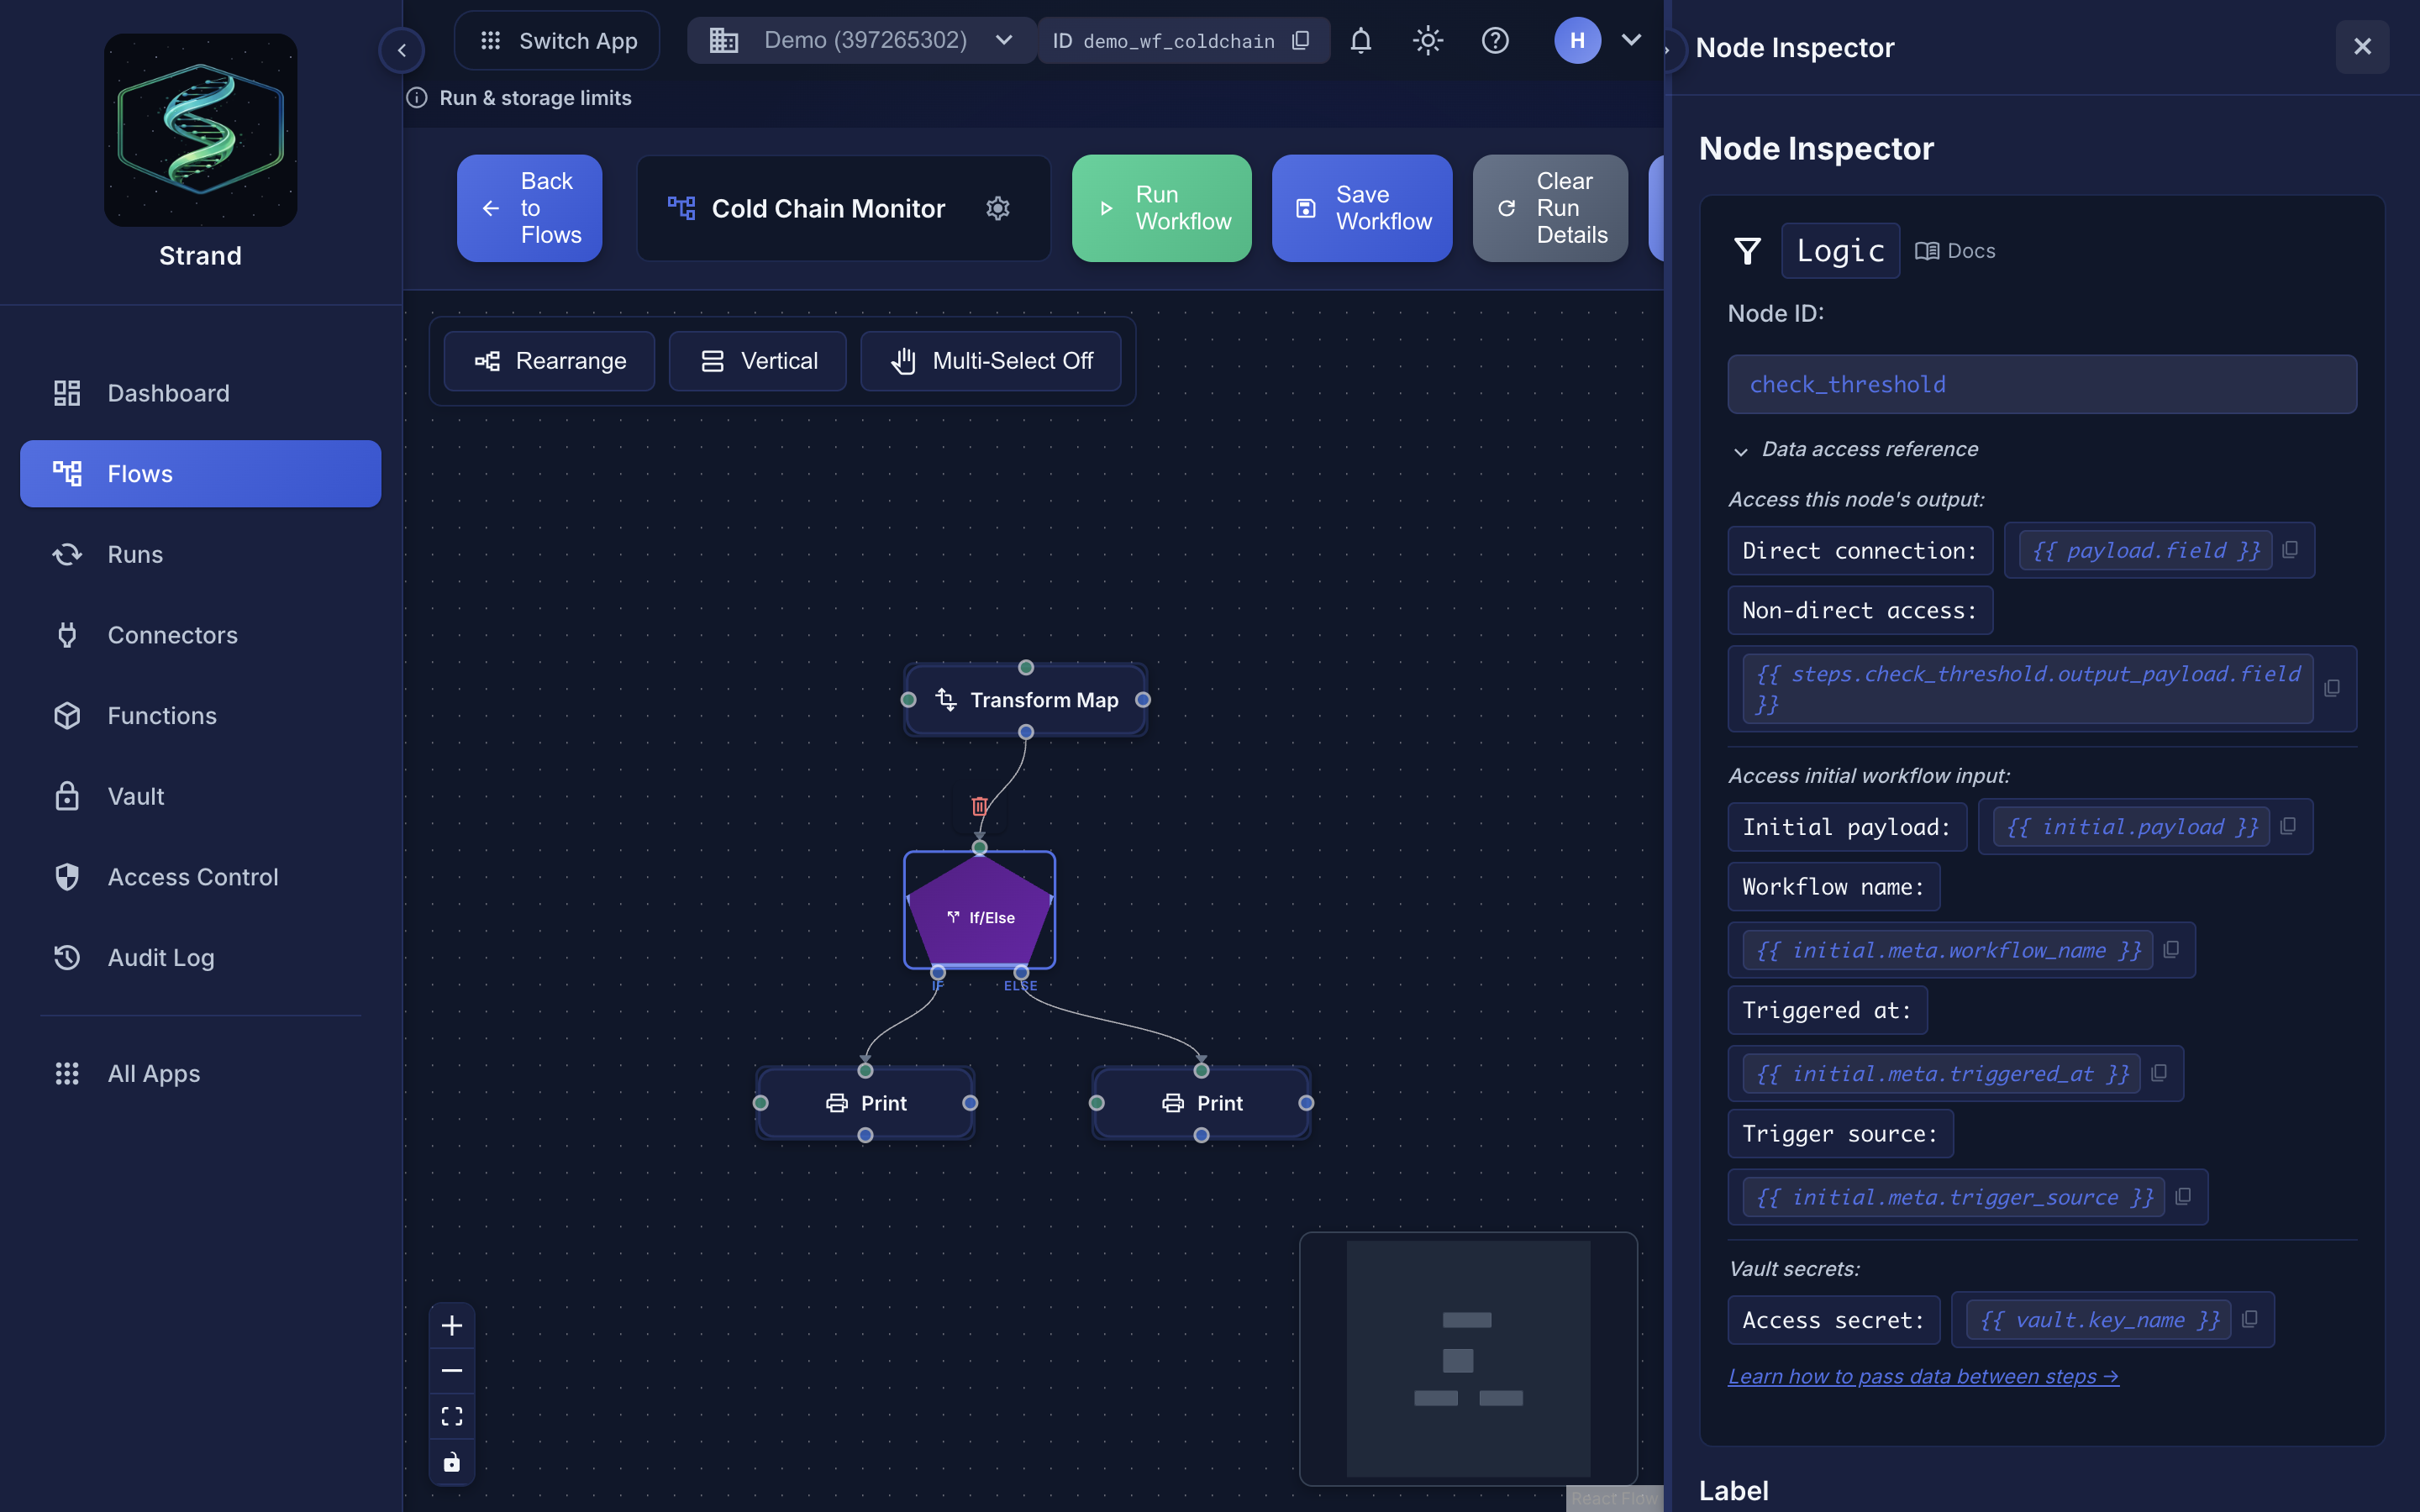 The Node Inspector: a node's ID, label, and configuration fields.
Step 5: Add Branching (Optional)#
Edges are always traversed: they carry no conditions. To branch, filter, or loop, add a Logic node:
- If/Else: enter a Jinja condition like
payload.temperature > 25; the node routes to itsifhandle when truthy and itselsehandle otherwise. - Filter: drop events that don't pass a Python condition.
- Foreach: iterate over an array, calling a node per item.
See Conditional Logic for details.
Step 6: Save Your Workflow#
Click Save in the toolbar. Save before testing so the run uses your latest changes.
Workflow Versions#
Every save creates a new immutable WorkflowVersion: a snapshot of the workflow's nodes, edges, and variables. Versions are numbered sequentially (v1, v2, v3, ...) and earlier versions are never modified, so every run preserves the exact configuration it executed against.
All triggers use the latest saved version: manual test runs, scheduled runs, Contact triggers, and API triggers. There is no separate "published" version to manage. To roll back, open an older version from the Runs page (each run records its version), copy the nodes forward into a new version, and save.
The next trigger after you save will pick up your changes. If you need to iterate without affecting production traffic, work in a separate workflow first and copy nodes over when you're ready.
Scheduled Workflows#
Scheduled workflows run automatically on a cron schedule, with no manual or webhook triggers required.
- Presets: every minute, 5 minutes, 15 minutes, 30 minutes, hourly, daily, weekly
- Custom Cron: any standard 5-field expression (e.g.
0 9 * * 1-5for weekdays at 9 AM) - Timezone: defaults to UTC; can be set to any IANA timezone
- Active state: toggle a workflow's active state to pause/resume scheduling
- Next run:
next_run_atshows when the workflow fires next; scheduled runs appear in the Runs page with trigger sourceschedule
Step 7: Test Your Workflow#
Click Run, paste a test event payload (JSON), and click Run Flow. Nodes execute in real time and the canvas highlights each step as it completes. For detailed execution history, open the Runs page.
{
  "user_id": "123",
  "temperature": 30
}
Before Going Live#
- All required node fields are filled in
- Node IDs are descriptive (you'll reference them from templates)
- Logic nodes have correct conditions and both branches are wired up
- The workflow has been tested with realistic sample data
- Failure handling is in place where it matters: branch on a connector's
{{ payload.success }}with a Logic node (see Conditional Logic)
